 About Me
Duolatera
An online VR 2-players co-op puzzle game.
Overview
This is an online VR 2-players co-op puzzle game. In this game, 2 players will connect through their Steam accounts and work together to solve a series of puzzles in a VR environment. Players will traverse through the overworld and the underworld using laser triggered portals and find their way back to earth by interacting with various devices.
Project Website: Duolatera
Try it out here:
Google Drive Download
Here is the gameplay video for Act1 & Act2. ↓
Duration
9 months, 2024.8 - 2025.5
Team Size
5
My Role
Technical Artist, Gameplay/Graphics Programmer
Tools and Environment
Unreal Engine 5, C++, HLSL, Forward Rendering
Shaders
Global Cel-Shading
The overall art style of Duolatera is low-poly and cartoonish, therfore, we decided to use cel-shading as our render style.
Due to multiple reasons such as framerates and Duolatera being a VR game, we use forward shading as our rendering pipeline(default UE5 VR setting).
Normally, cel-shading in deffered rendering is achieved by accessing the G-Buffer for various data and applying post-process effect on the whole scene.
Using forward rendering means that there is no G-Buffer for me to use and therfore I have to find another way around.
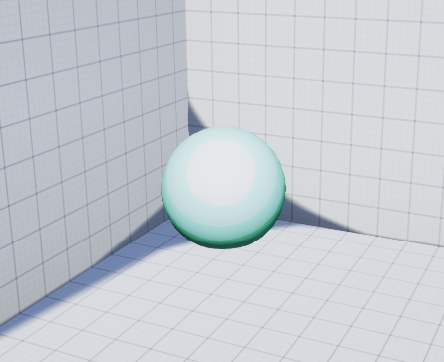
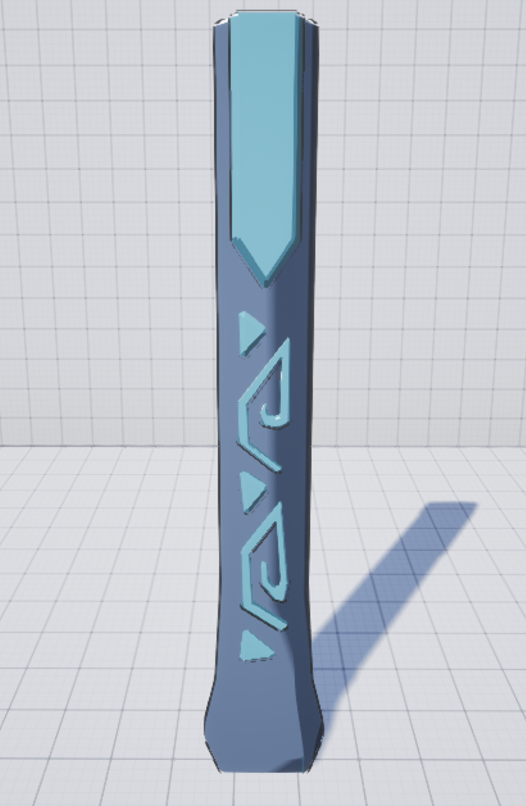
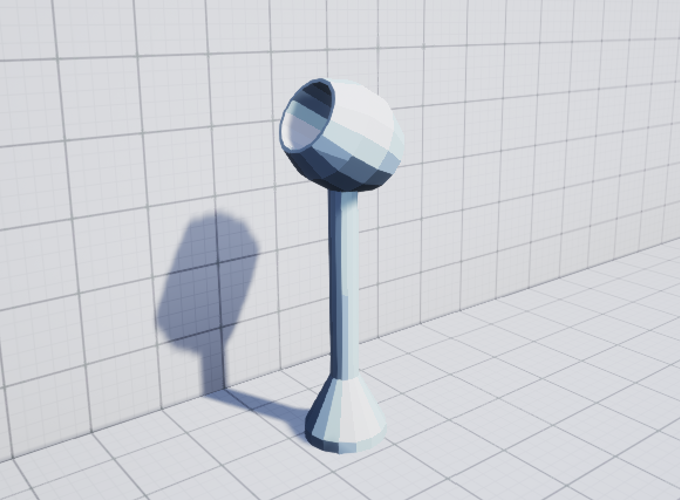
In order to achieve the cel-shading effect, I replicated the phong model and created a material function that converts the input color and textures to cel-shading color. I then made a master material using this material function and now artists can easily simply make a material instance of this master material and play with the parameters on the panels.
This material allows albedo textures, basic tint and up to 3 different RGB texutures on 1 object.
Portal VFX Between 2 Worlds
One of the main mechanisms of Duolatera is Portals. Portals exist through out the whole gameplay and they always appear in pairs. If a portal exists in the Overworld, a corresponding portal must also exists in the Underworld on the same spot. Players travel between worlds through these portals to solve the puzzles.
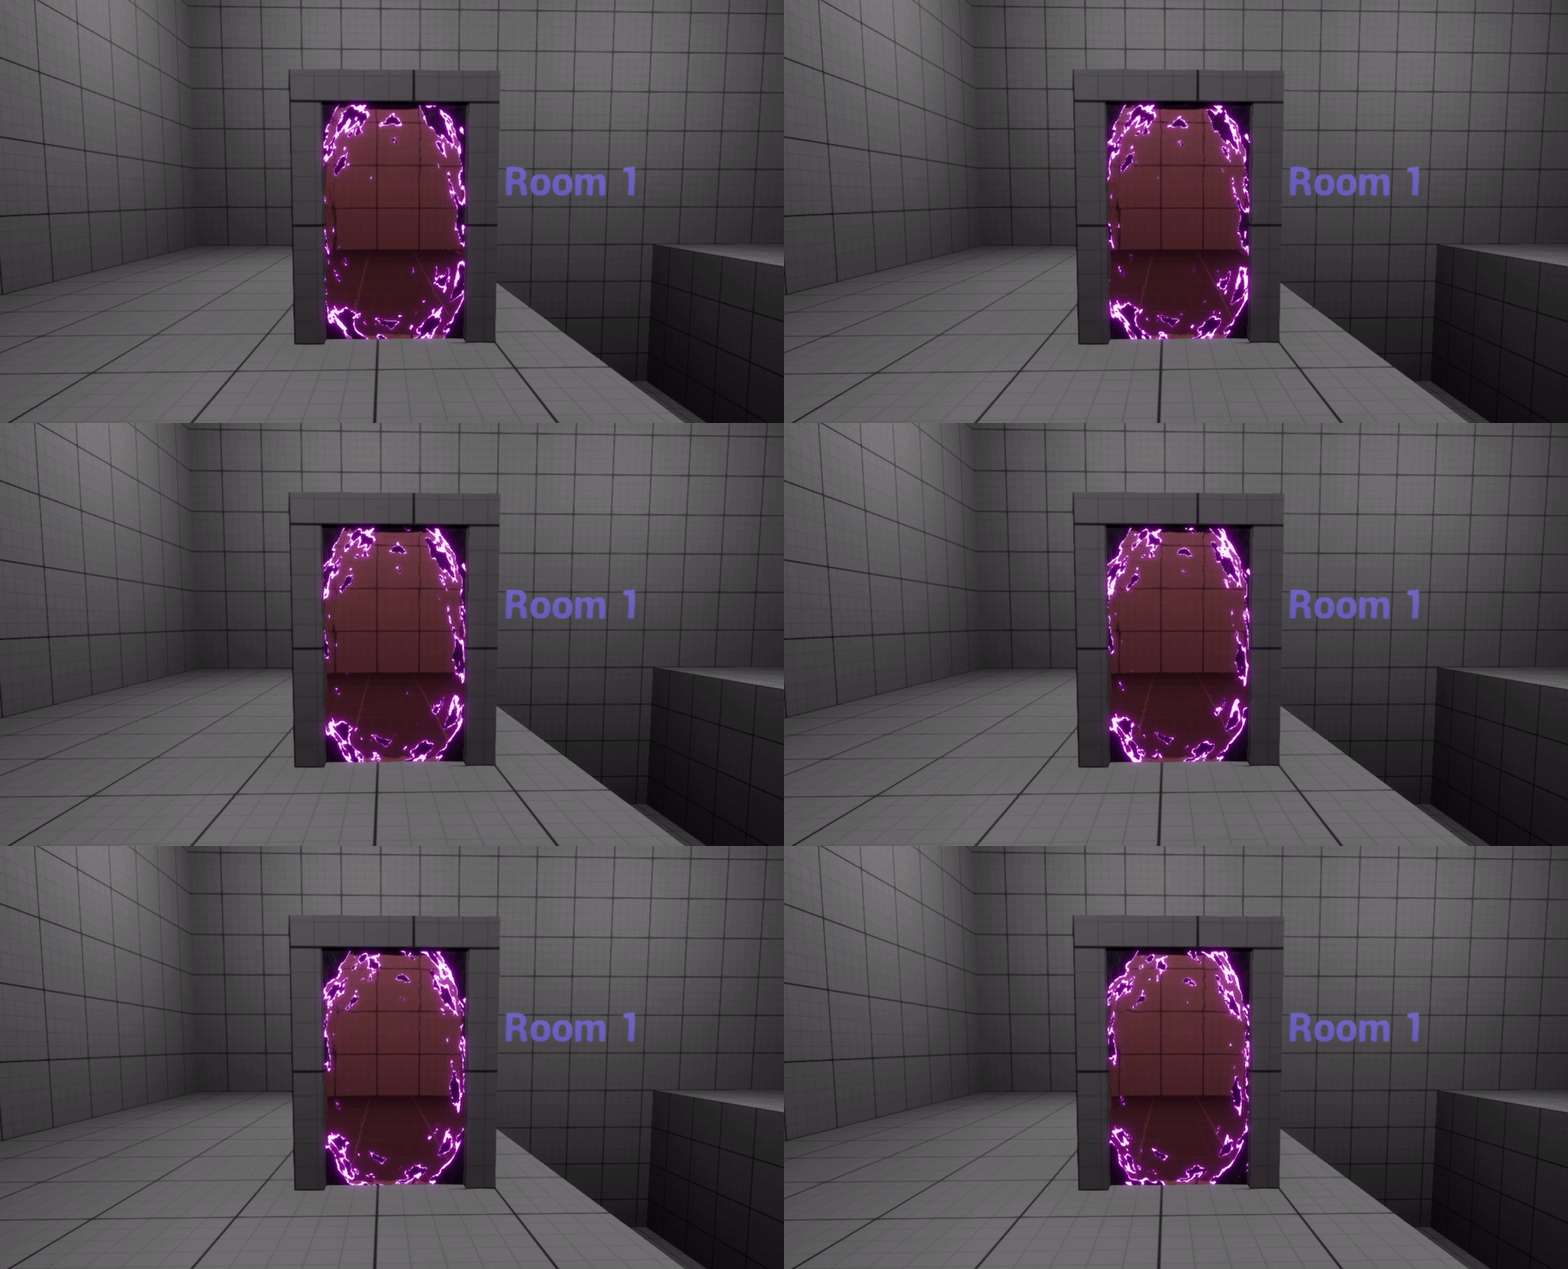
Portals are all closed by default and are triggered only by "tagging" with laser tools. Here is a triggered portal in the Overworld and its corresponding portal in the Underworld.
The portal shader consists of 2 different materials: A base material and an overlay material.
Base portal material is the scene texture captured by invisible cameras from the corresponding portal resulting in the "seethrough" effect.
Overlay portal material is the VFX part of the material. It consists of distortion, "vortex" effects and allows customizations during spawning. Since portal VFX looks different in Overworld and Underworld, their materials are spawned when portals are triggered open.
Overworld Portal
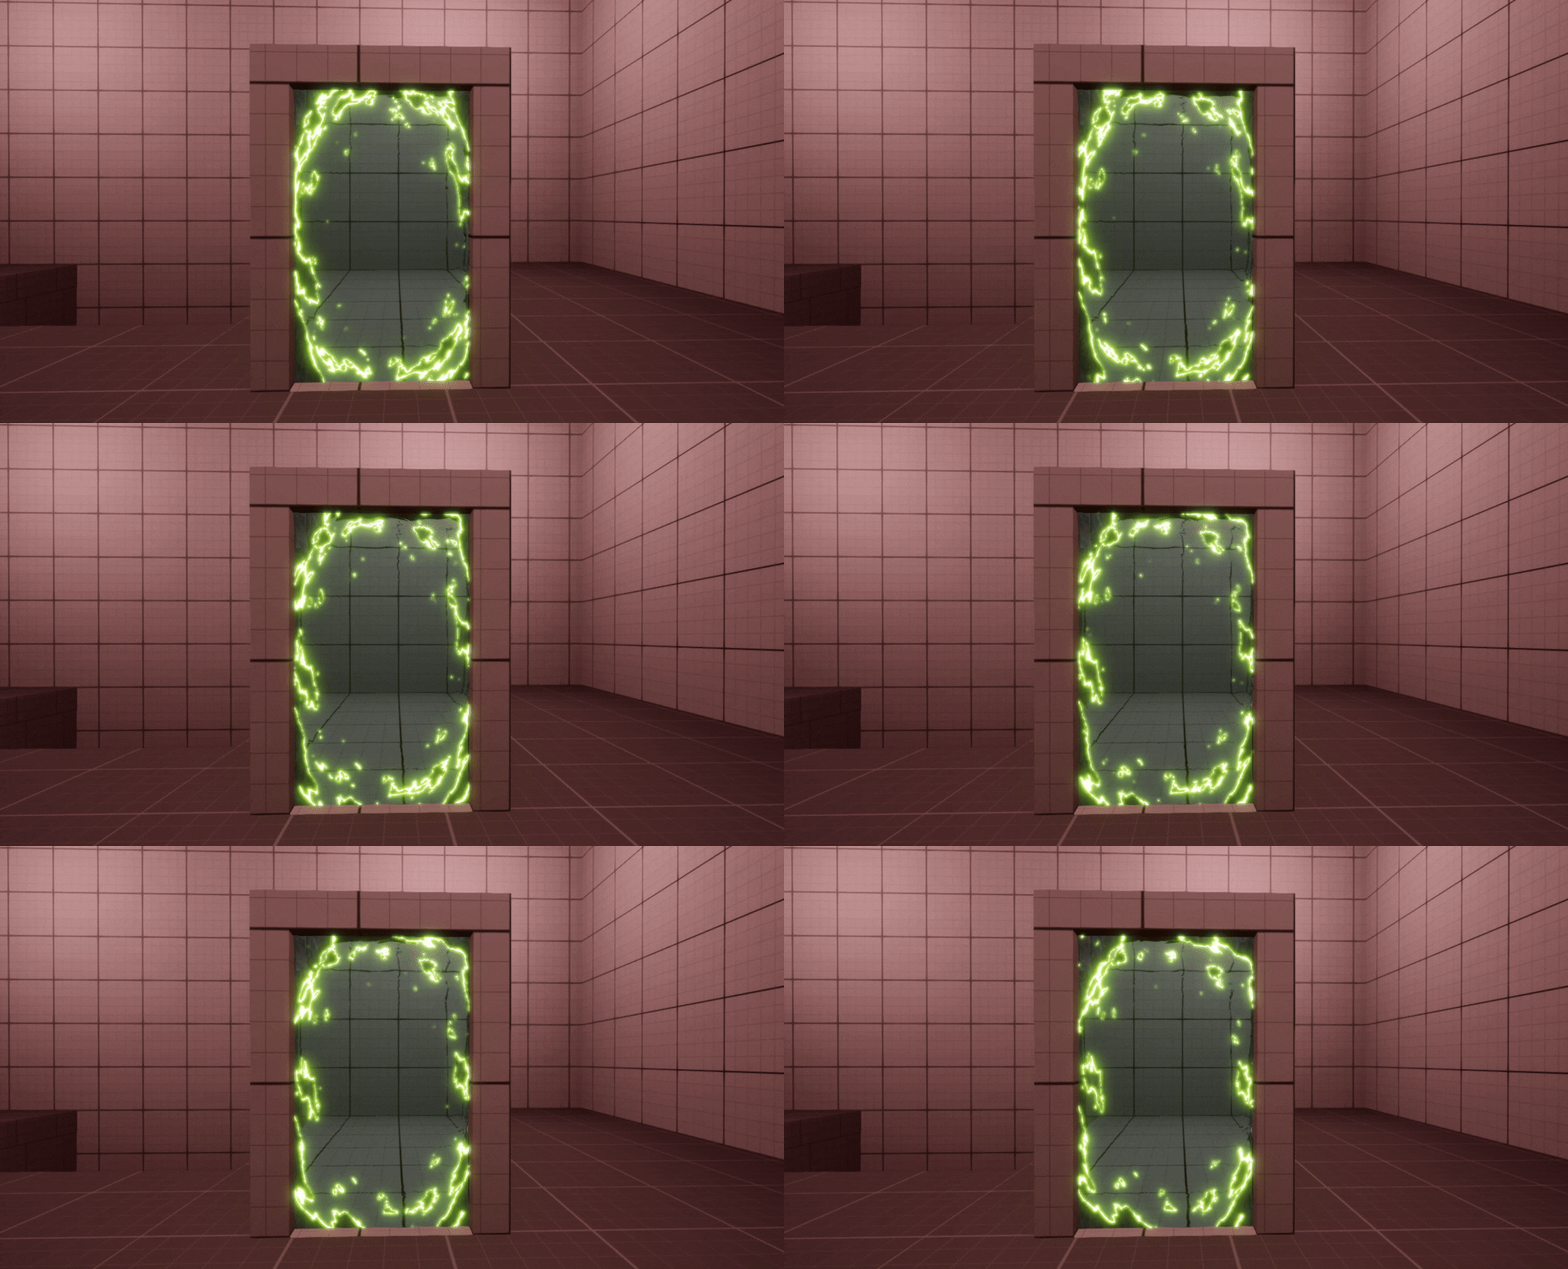
Underworld Portal
Visual Indication Shaders
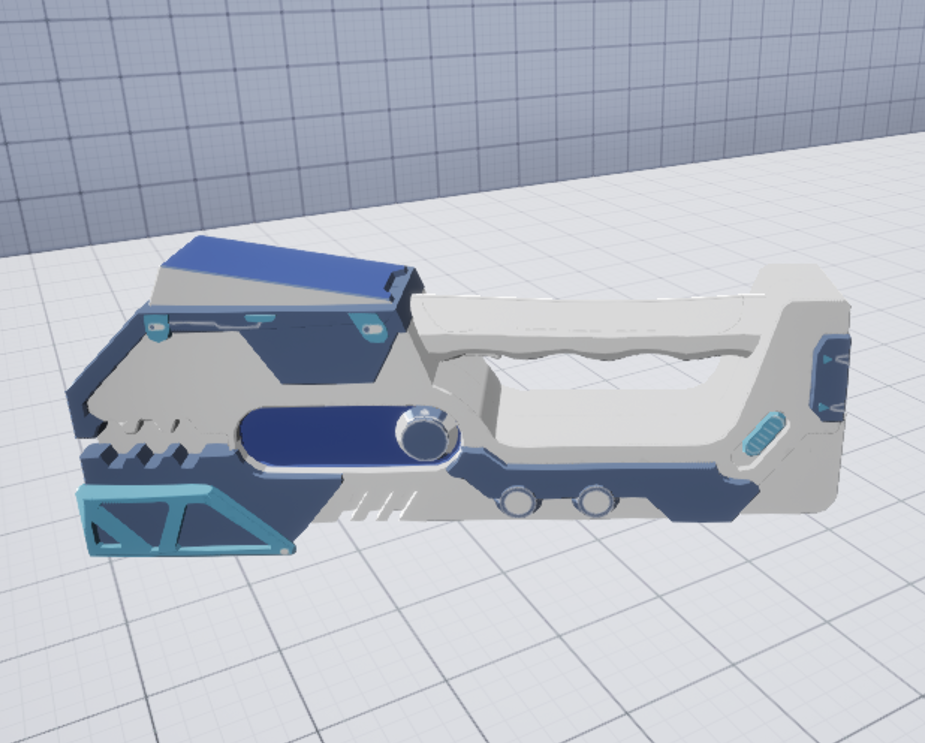
There are several kinds of props that player can interact with. 2 of the most important ones are "Taggables" and "Interactables". "Taggables" are the ones that players can shoot with their laser guns and "Interactables" are the ones that players can interact with their VR hands. It's important that players can distinguish between different types of props so they can interact with them the way we intend.
Taggable material is a world space continuous 3D material which works with all the props in the scene regardless of the object's location and rotation. Since the material is continuous in space, objects that are close to each other looks like they are under the same piece of texture.
Interactable material is a world-space material which only takes the object's Z location value into account. It is commonly used in many games as indication for something that is interactable.
I made the 2 above materials that are very commonly used in the game into material functions and added them into the master cel-shading material so programmers are able to control the on and off of these 2 effects by simply changing the corresponding scalar parameters on the material.
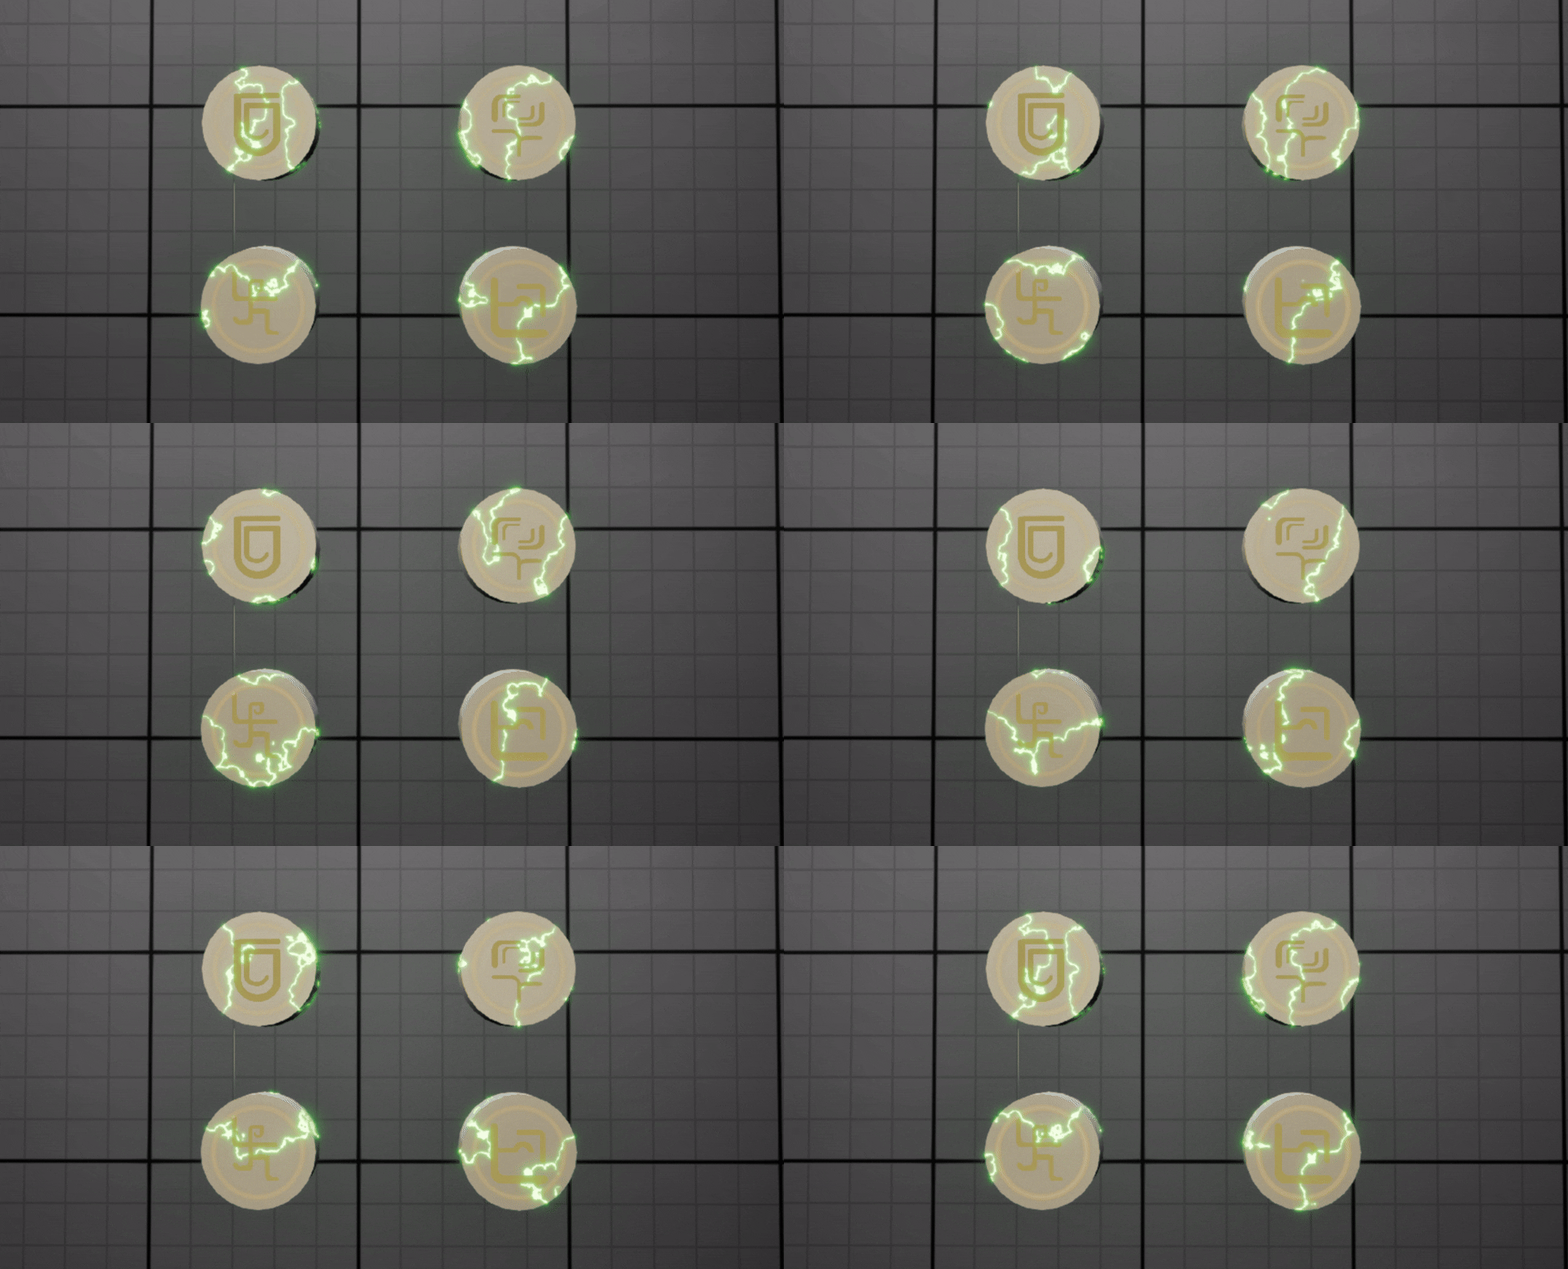
Taggable Material
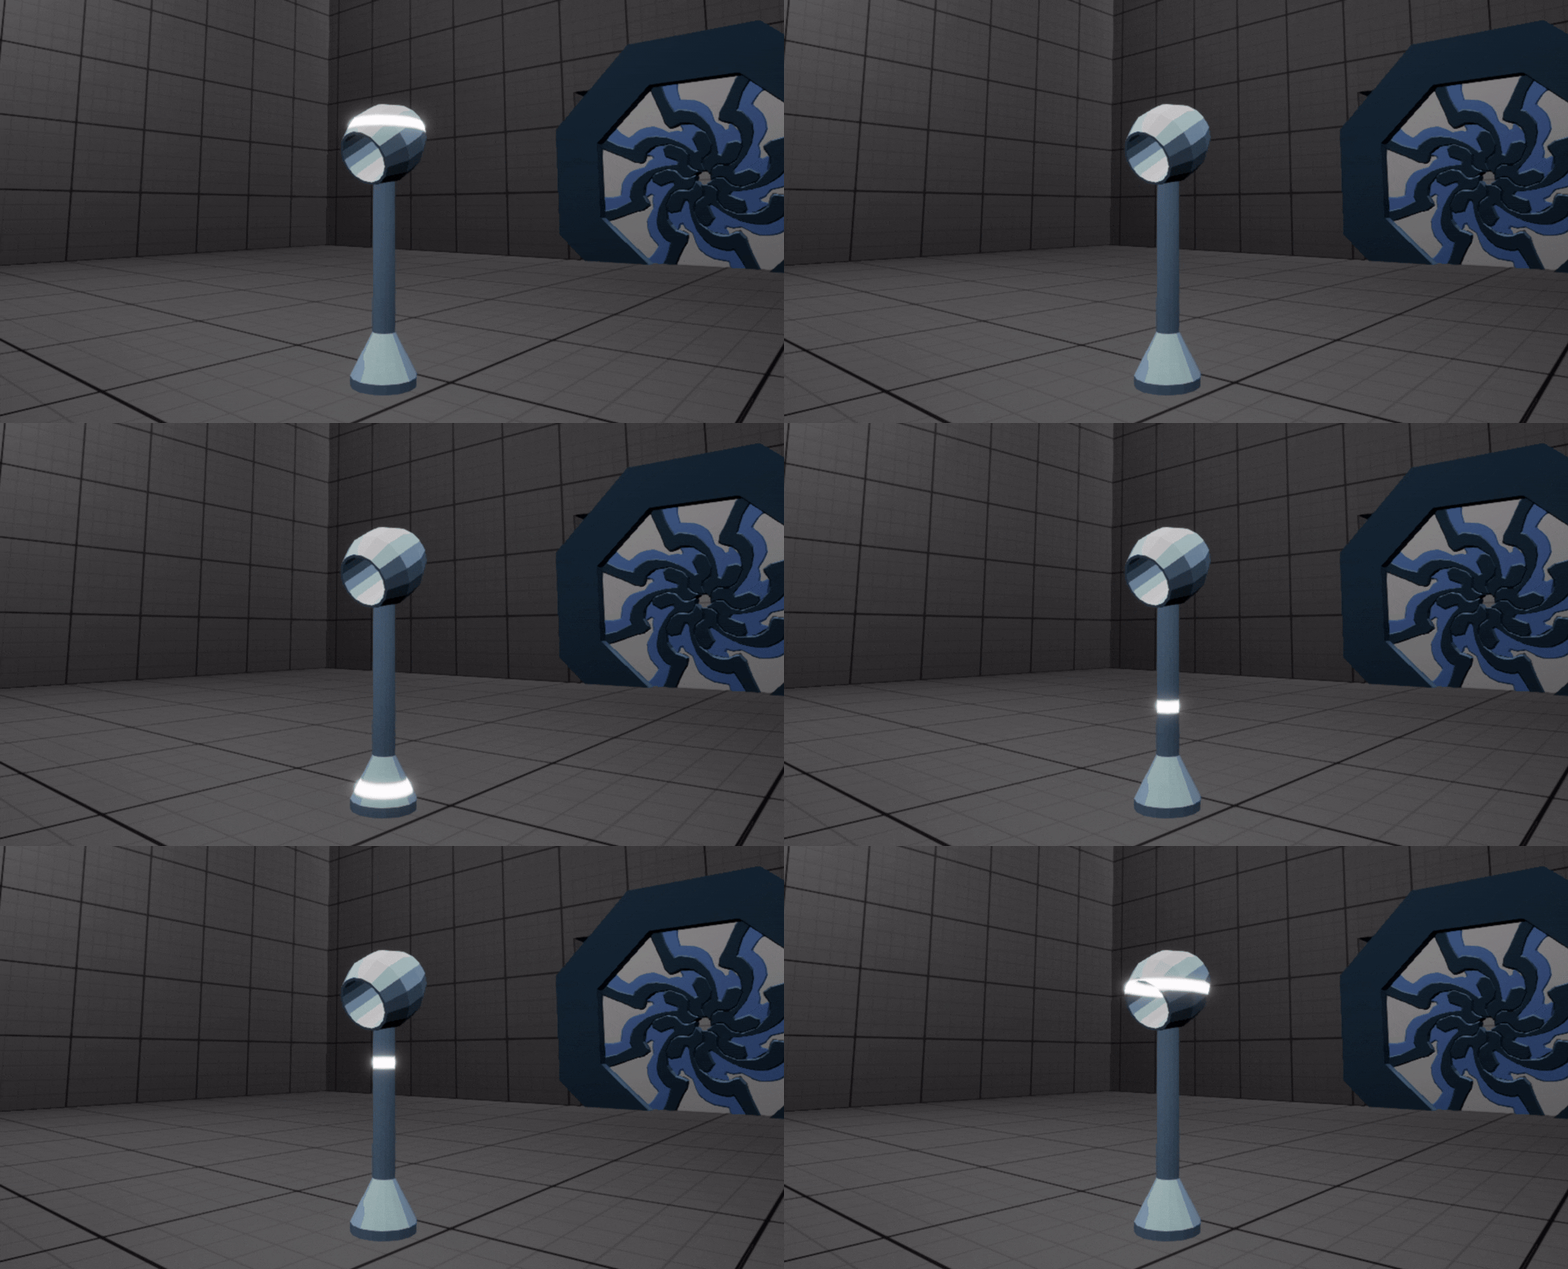
Interactable Material
Gameplay
Act2
As a MVP, Duolatera consists of 3 main acts. I am in charge of the implementation of all the gameplay and visuals in Act2.
Phase 1:
The objective of phase 1 is to put all 4 gabbable symbols in their corresponding slots in order to activate a cannon leading to the next phase.
Each slot has an "answer" symbol on top, which indicates player to insert the grabbale symbol with the same glyph into the slot. When the phase starts, the glyphs on the "answer" symbols are randomly shuffled. The 4 slots are by default closed, indicated by the blue barriers. When a slot is closed, players are not allowed to insert grabbale symbols into the slots.
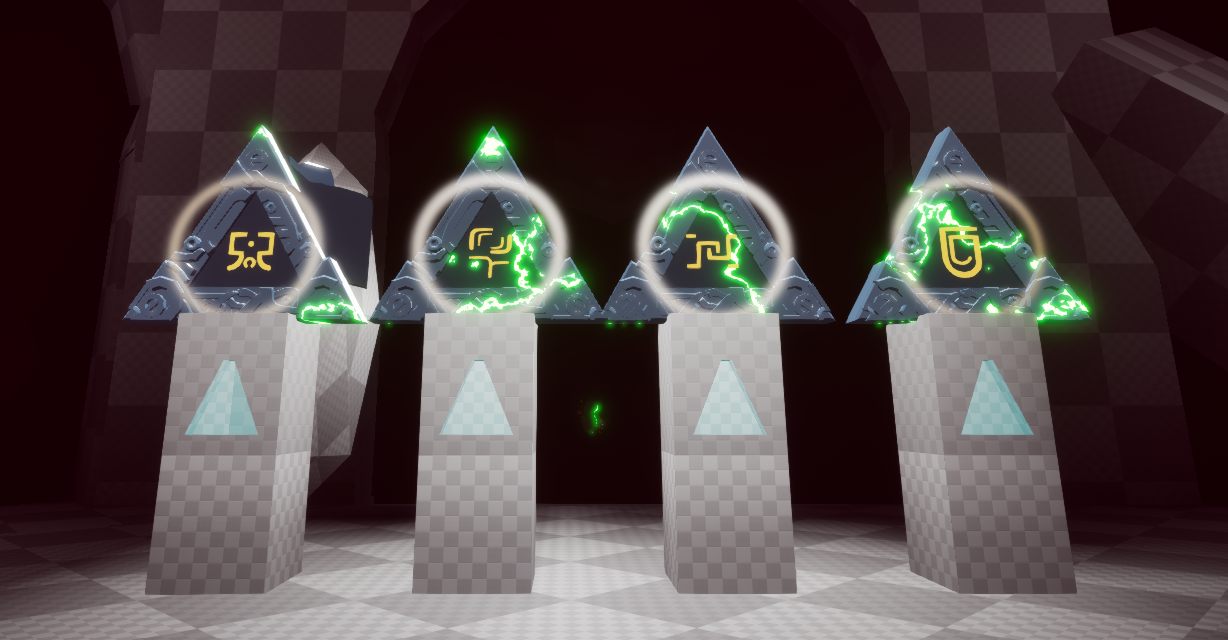
The Slot Group
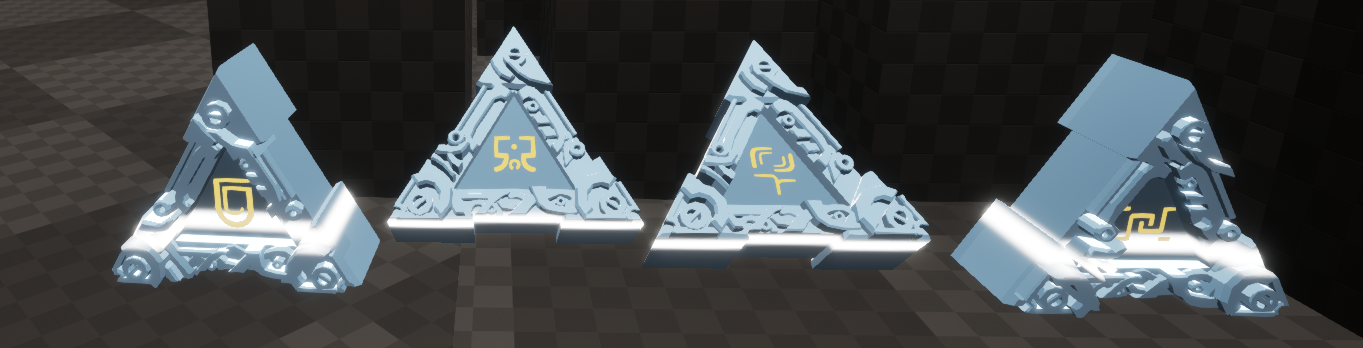
Grabbable Symbols
To unlock a slot, players need to use their lasertools to maintain their shooting on the corresponding "answer" symbol on top of the slot, when that "answer" symbol is activated, the slot below will be unlocked, indicated by the fading of the blue barrier. This will allow player to insert a grabbable symbol into the slot.
Inserting a grabbable symbol into a slot will result in the corresponding "answer" symbol's Taggable material and shooting progress aura to fade, indicating players that the slot is now filled. After a grabbable symbol is inserted, players can still take it out of the slot, regardless of whether the input is correct or not, indicated by the grabbable material on the grabbable symbols.
When a correct grabbable symbol is inserted into the slot, the glyph on the corresponding "answer" symbol on top of the slot will light up. When a wrong grabbable symbol is inserted into the slot, the glyph on the corresponding "answer" symbol on top of the slot will show no change.
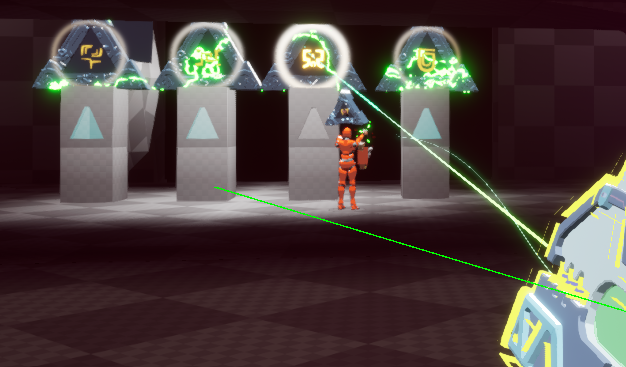
Unlocking a Slot
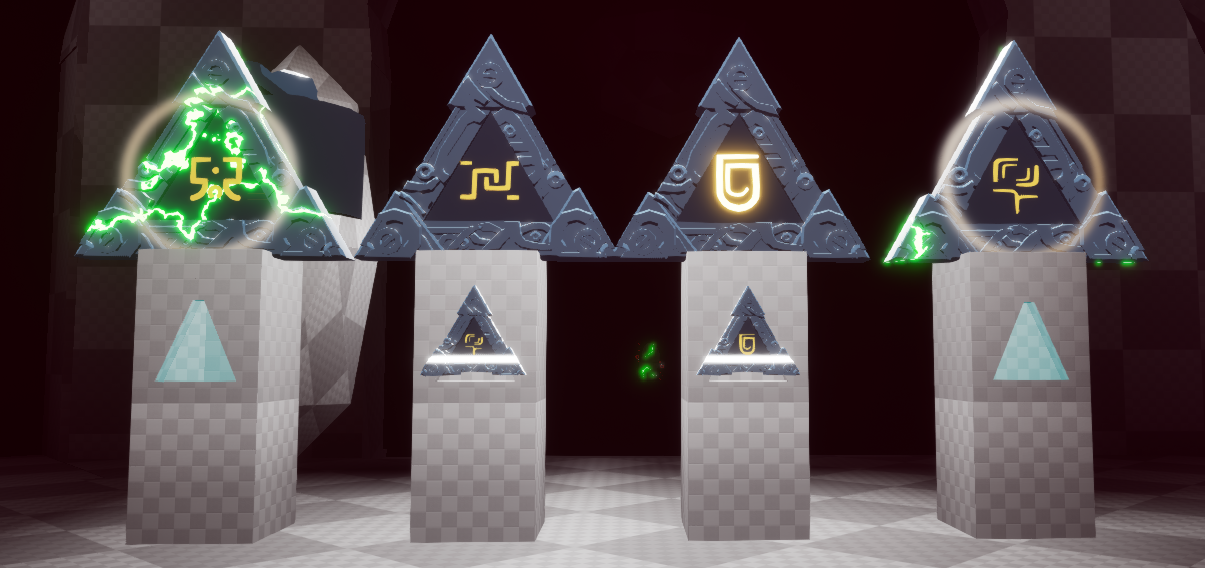
Wrong and Correct Input on the Slots
When all 4 slots are inserted with the correct grabbable symbols, the slots will be on lockdown, players will no longer be able to take the symbols out from the slots, indicated by the fading of the grabbable material.
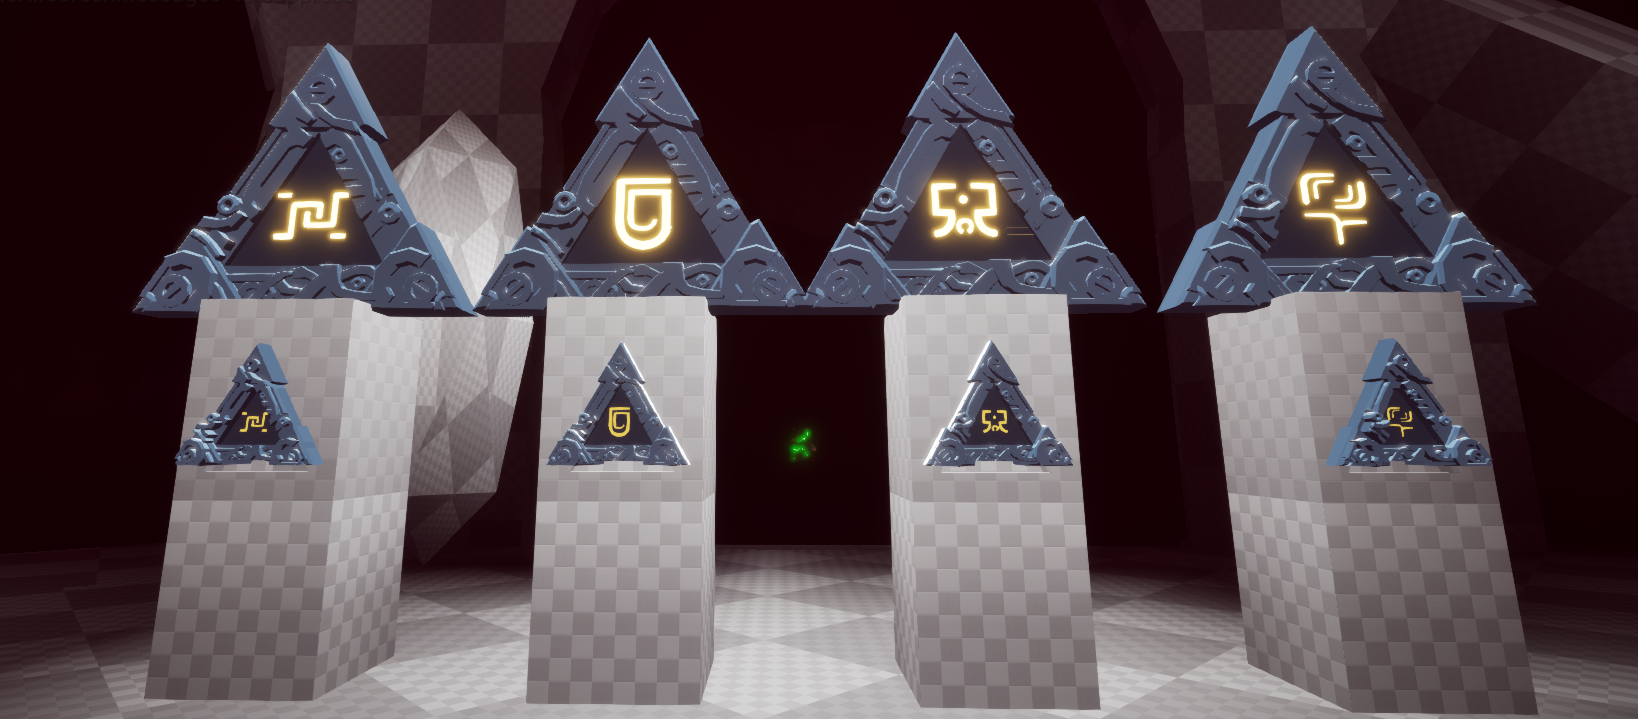
All Slots with Correct Input
At the same time, a cannon will rise up and fire a beam to destroy the debris on the stairs to the watch tower. And so begins phase 2.
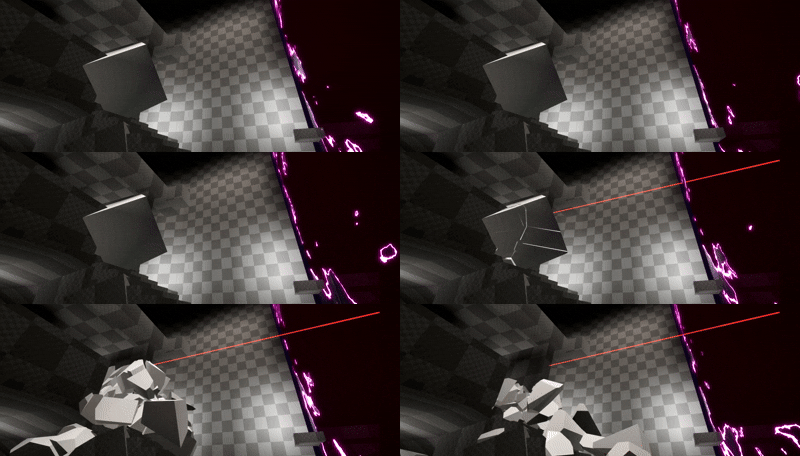
Cannon Beam
Phase 2:
The objective of phase 2 is somewhat similar to phase 1. Players need to input the correct key symbols according to the glyphs that will show up in the holo-triangles(the Keyset) to all 8 slots(the Lockset) in order to complete this phase.
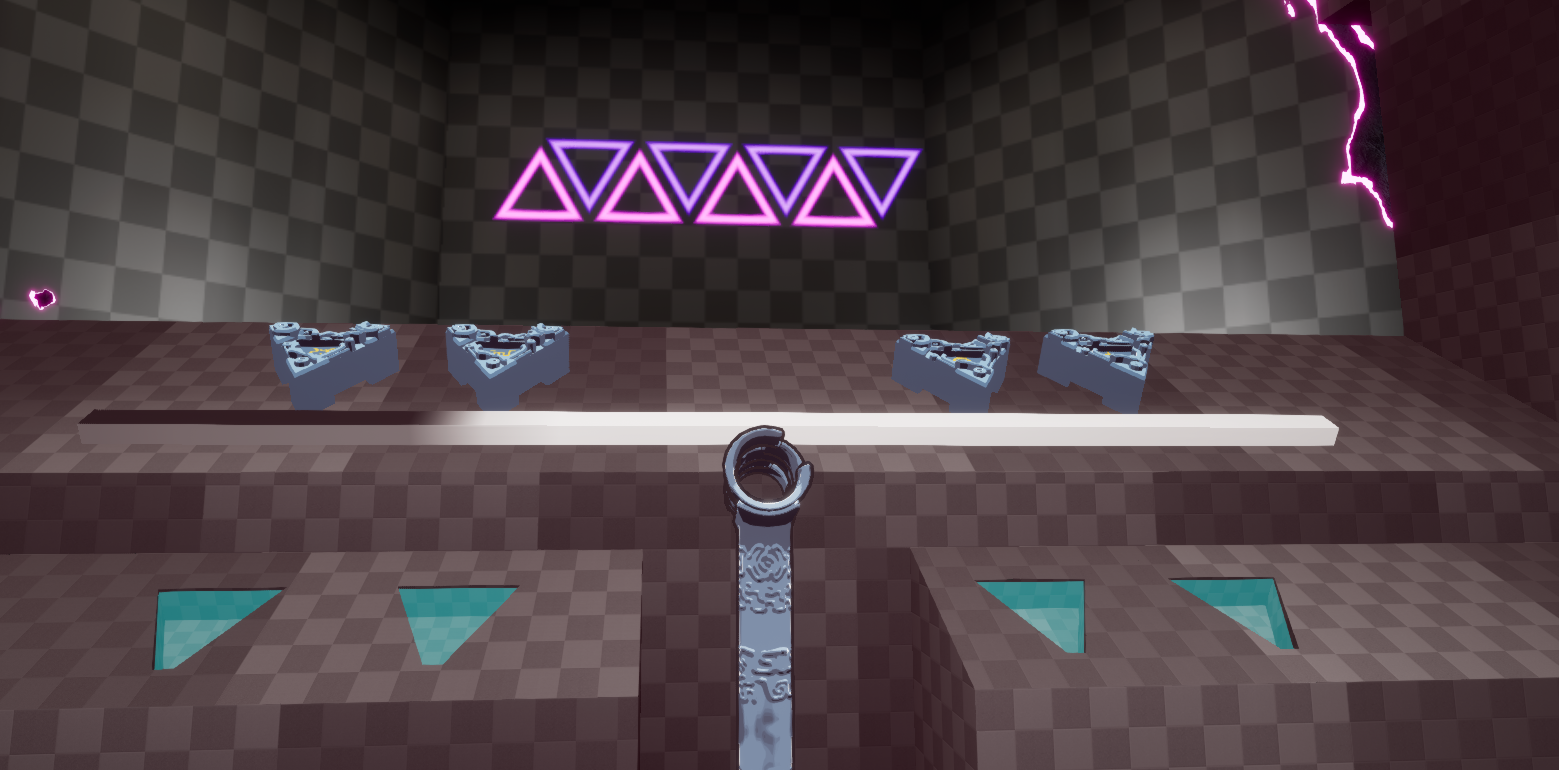
Underworld Lockset and Overworld Keyset
When this phase starts, there are 8 empty holographic triangles shown on the walls behind the giant portal in the middle of the room. These are the keyset corresponding to the lockset. Because of the giant portal in the middle, players can only see the Underworld keyset from the Overworld and vice versa.
Underworld Lockset and Overworld Keyset
Upon both players putting their hands in the ringsensors located in each world, the "Answer" glyphs on the Keyset of the corrensponding world will show up at the same time. The glyphs on the Keyset will remain visible as long as both players keep their hands in the ringsensors.
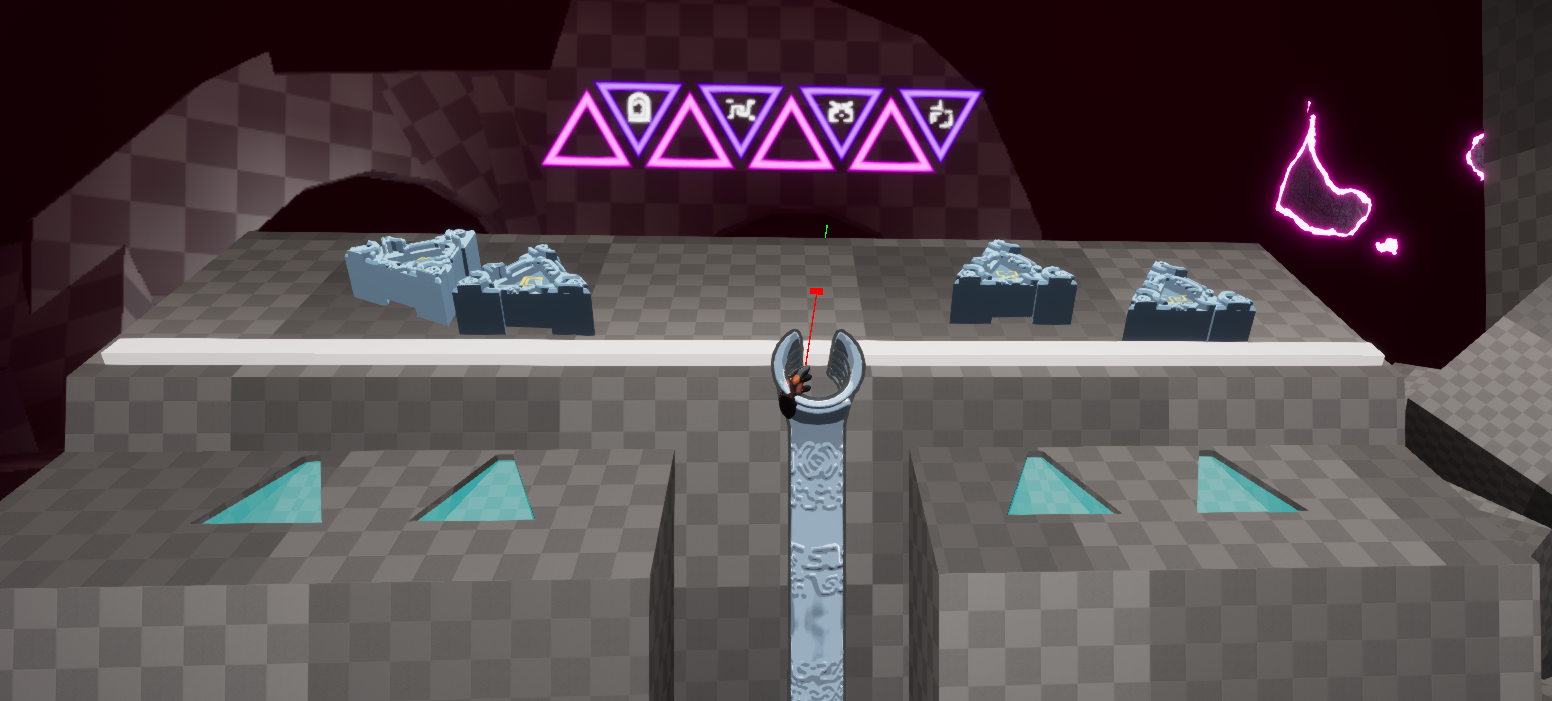
Keyset(glyphs visible) in Overworld
The Lockset is locked when the phase starts, it will remain locked as long as the glyphs on the Keyset is visible, indicated by the blue barriers.
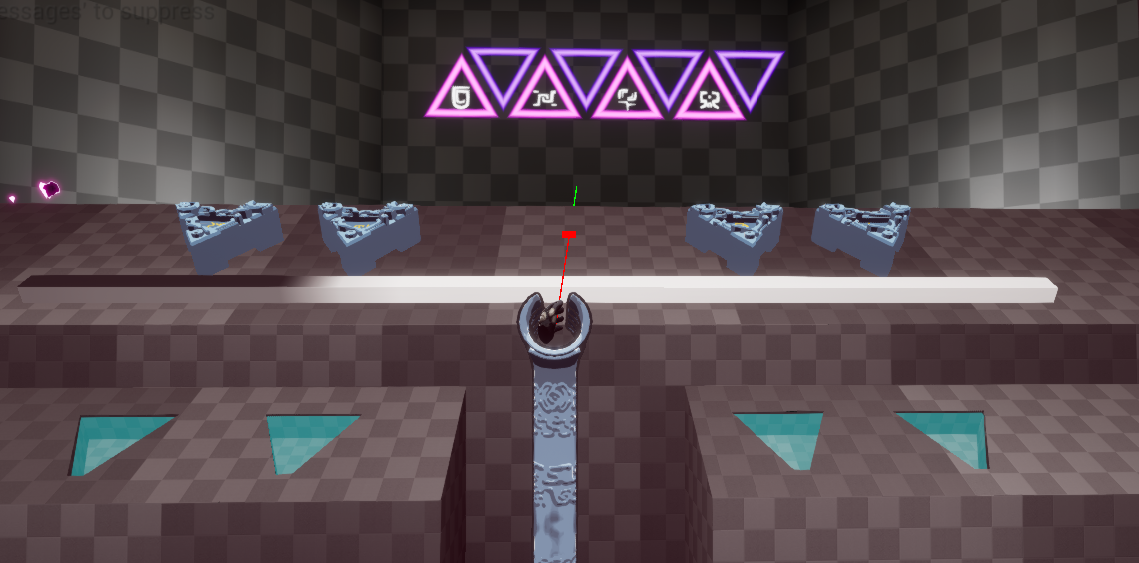
Keyset(glyphs visible) in Underworld
When 1 or both of the players withdraw their hands from the ringsensors, the glyphs on the Keyset will go invisible, leaving only the holographic triangles lighting up on both sides.
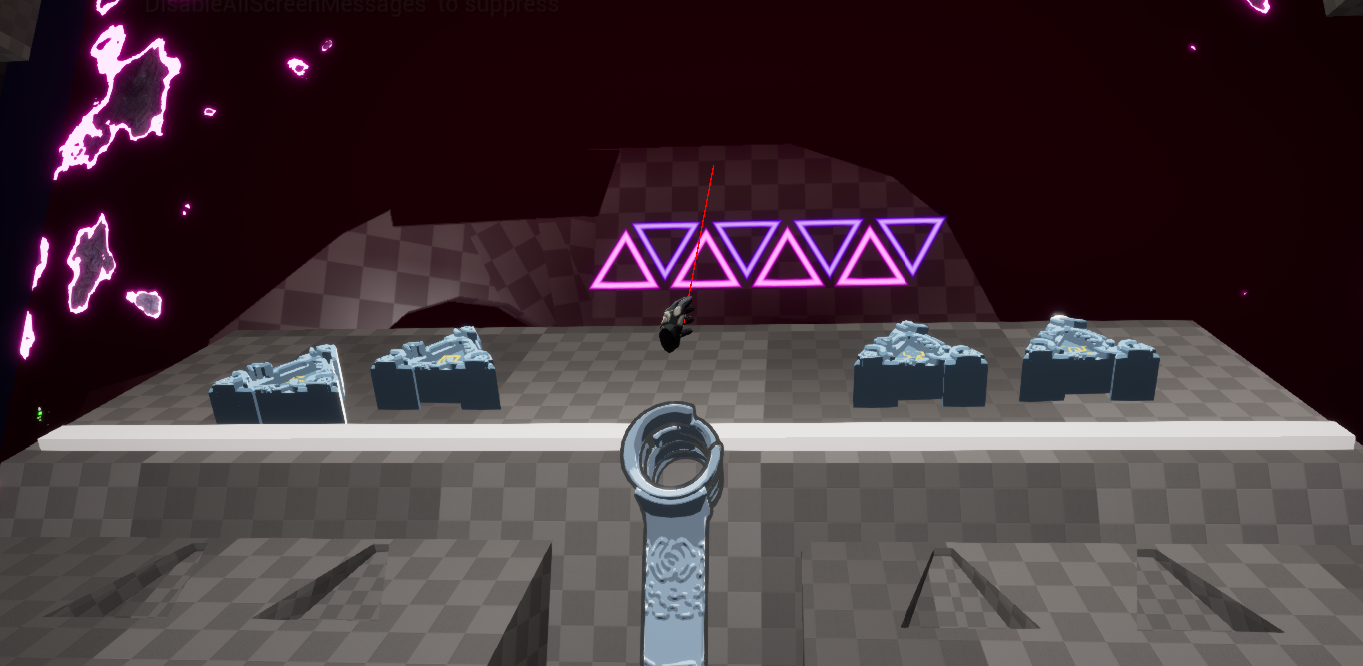
Keyset(glyphs invisible) in Overworld
The Lockset will then be unlocked indicated by the fading of the blue barriers, allowing players to input the key symbols into the slots.
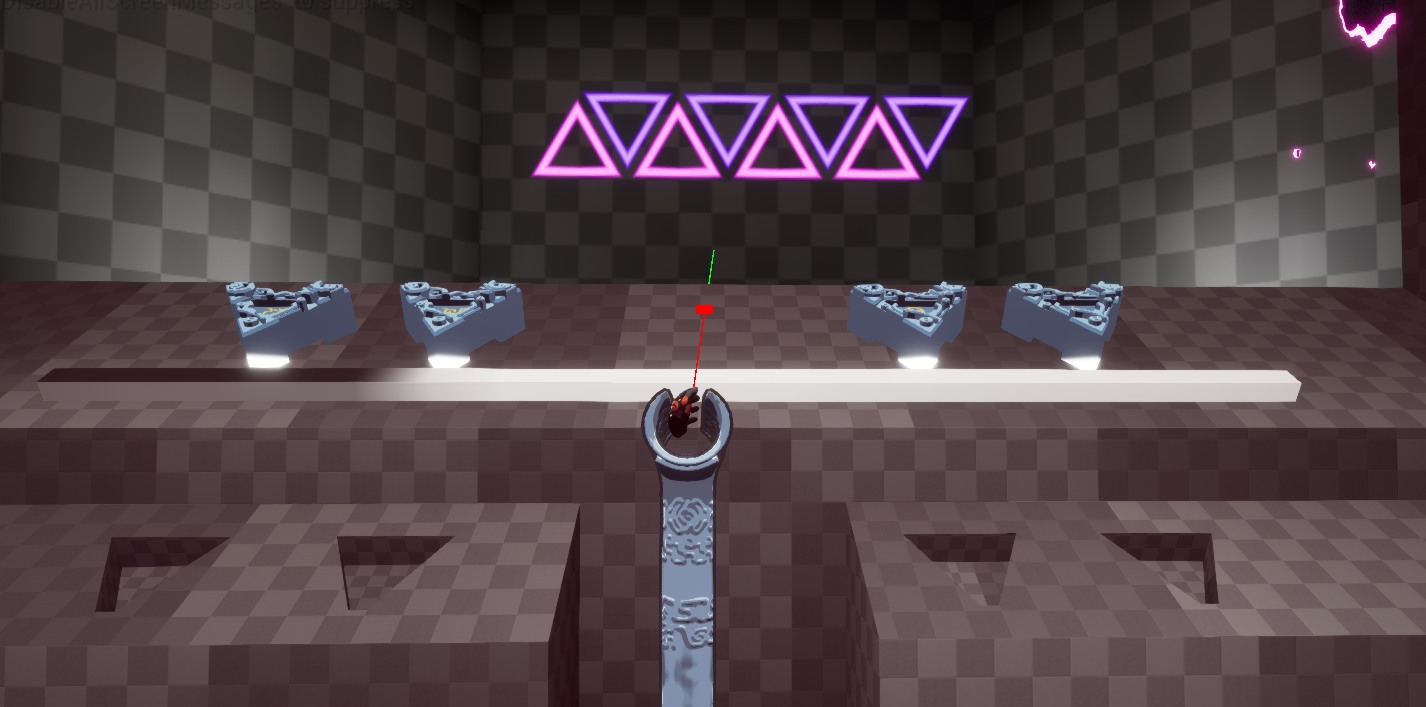
Keyset(glyphs invisible) in Underworld
When correct key symbols are put into the slots, the corresponding holo-triangles will light up brightly and are visible from both sides.
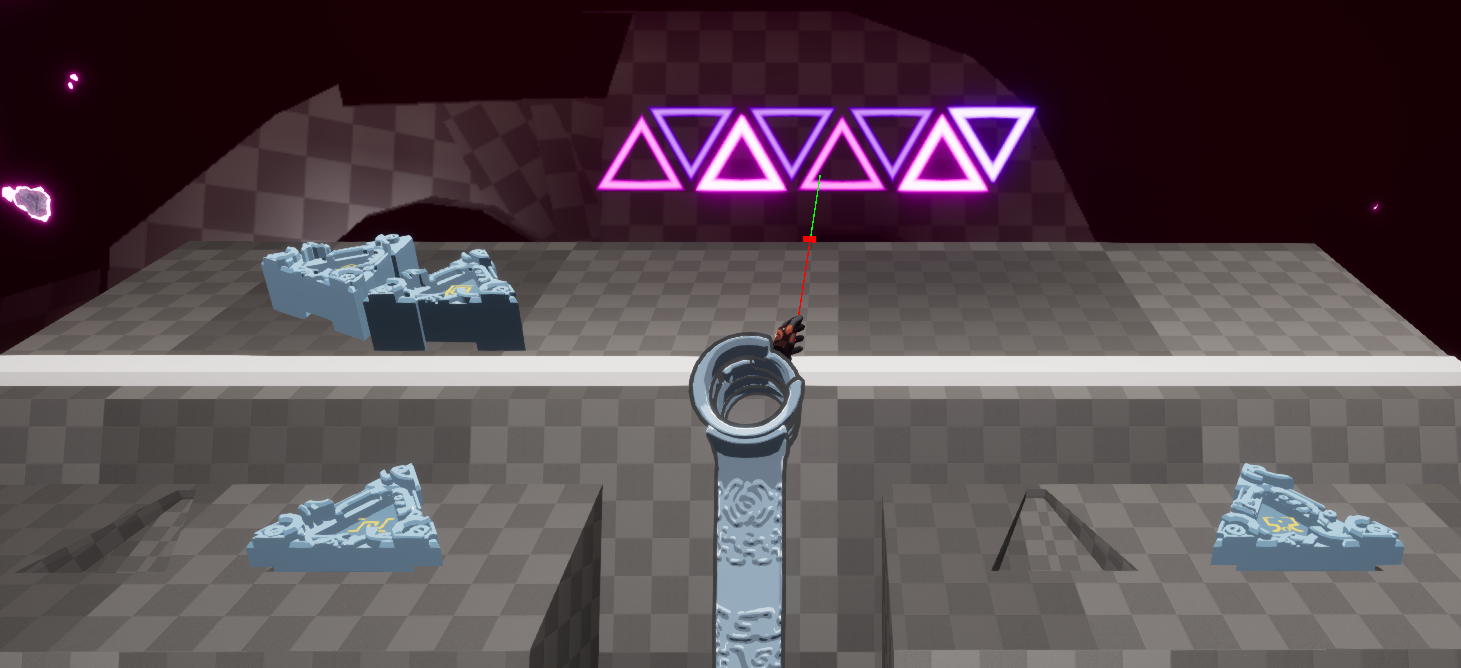
Correct Inputs in the Lockset in Overworld
The correct symbols here means the ones with the same glyphs visible on the corrensponding Keyset before players took their hands out of the ringsensors.
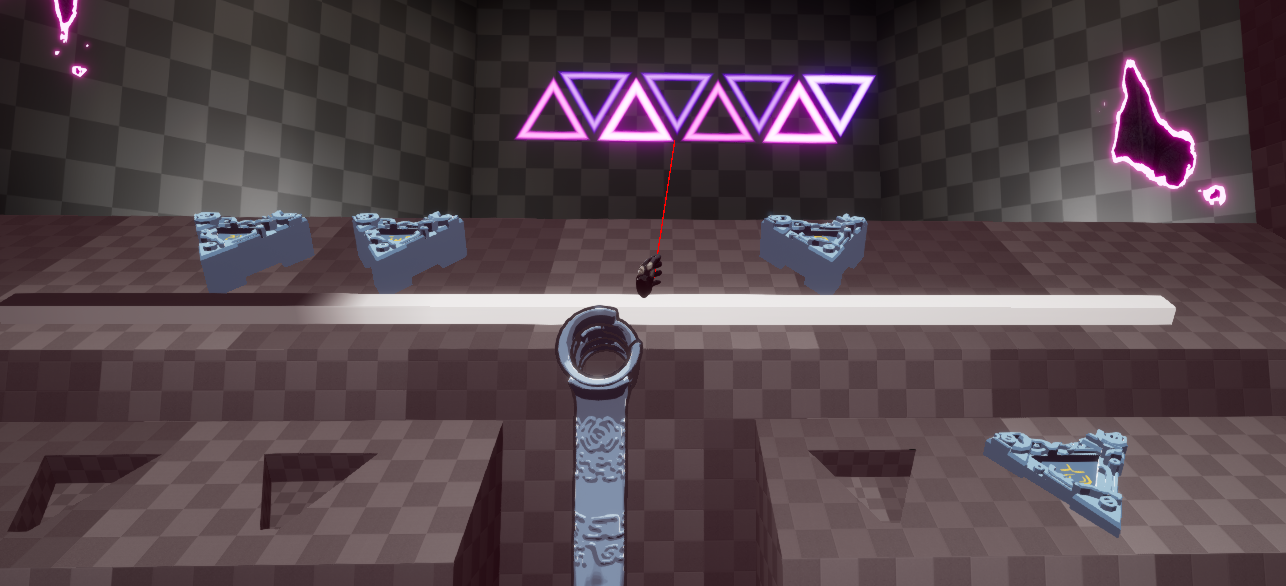
Correct Inputs in the Lockset in Underworld
When an incorrect key symbol is inserted in a slot, ALL of the key symbols in both worlds will be ejected from their slots, emptying the Lockset. All the holo-triangles on the Keyset in both worlds will briefly turn red and then once again go back the lit up state.
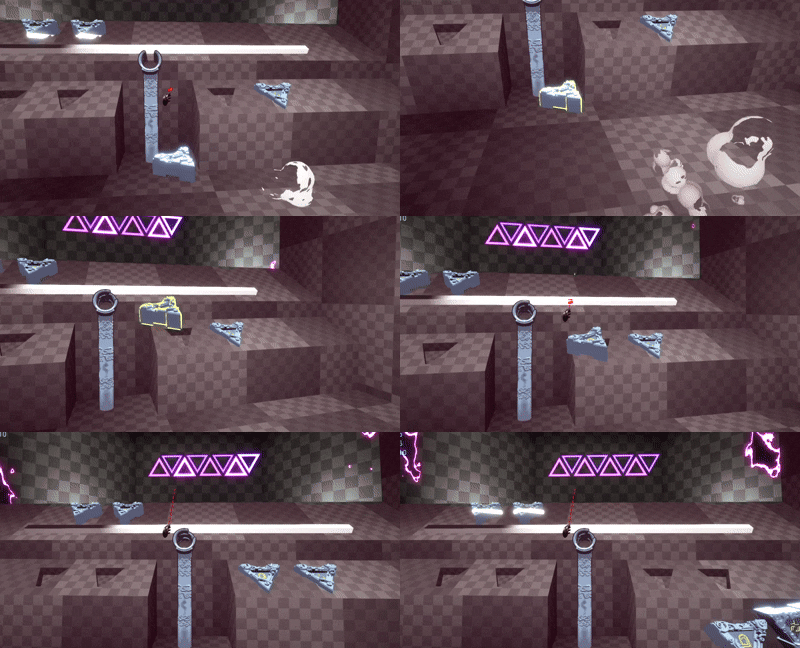
Incorrect Input in a Slot
When ALL the slots on the Lockset is filled with the correct key symbols, the holo-triangles will light up brightly in green in both worlds. This marks the completion of phase 2.
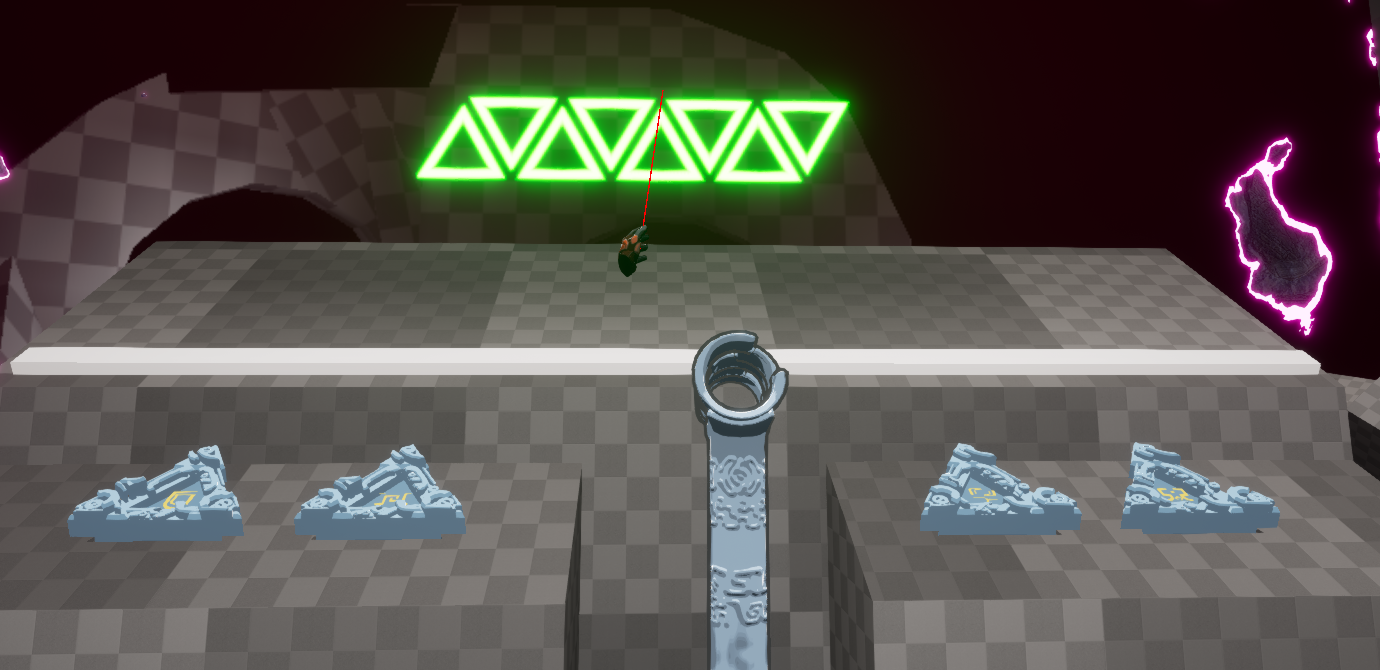
Correct Input for the entire Lockset
Save & Load Game System
Load Game
Duolatera allows player to start from their desired act once they reached the corresponding checkpoint. When the host player creates the lobby, they can select the act from their checkpoints, the client player joining the same session will be put on the same checkpoint when game loads.
This is achieved by saving the selected act number in the host player's game instance and comparing the number with the playerstarts' tag number in game mode. For this purpose, I implemented a C++ VRGameInstance class which is the child class of UE5's GameInstance class and a C++ VRGameMode class which is a child class of UE5's GameMode class.
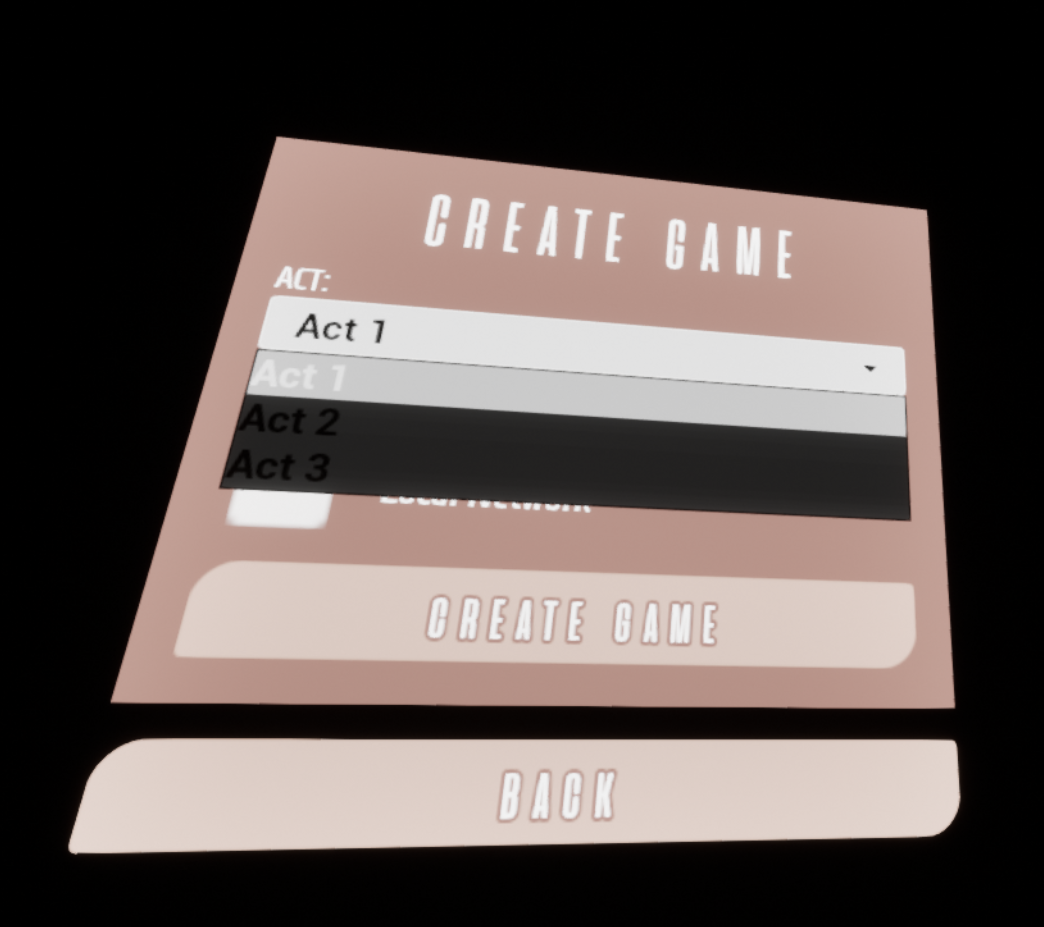
Select Checkpoints
When players reach a checkpoint, a level loader will load the next level and unload the previous level upon both players entering the checkpoint area. This is done through UE5's sub-level system, as the game progress, there will only be 1 level that is currently loaded, which is crucial to keeping a overall high framerate.
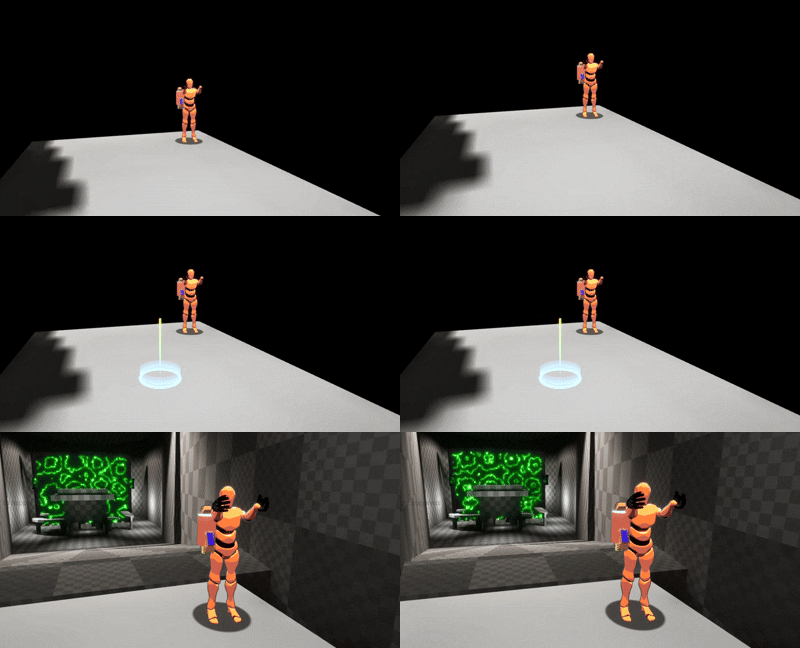
Load Level
Save Game
When the host player selects the act they want in the menu and creates a session, the infomation will be passed along in the session property string in extra settings in a session. The player joining the session therfore, would be able to see which act the host wants to start before clicking the join button. This number represents the current act the host is in and will be updated whenever the players get to the next checkpoint.
During gameplay, player's location and orientation are updated per telepotation and upon a player logging out, whether it's because of self quitting or internet error. Therfore, rejoining player will be put on the last known legal location and orientation before they left.
Menu System
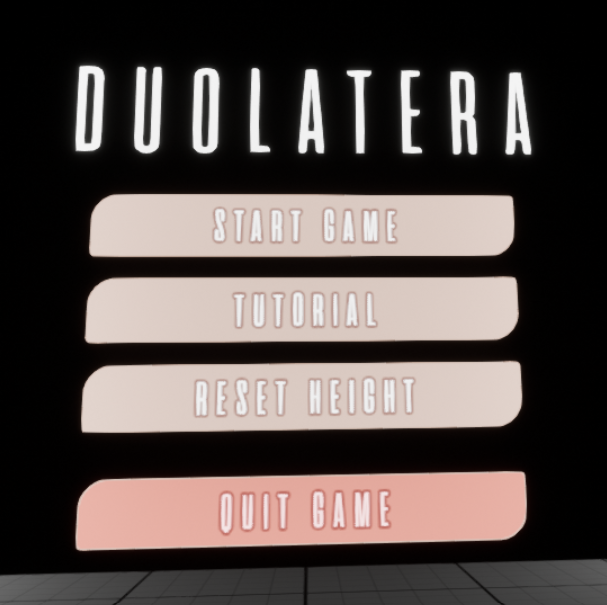
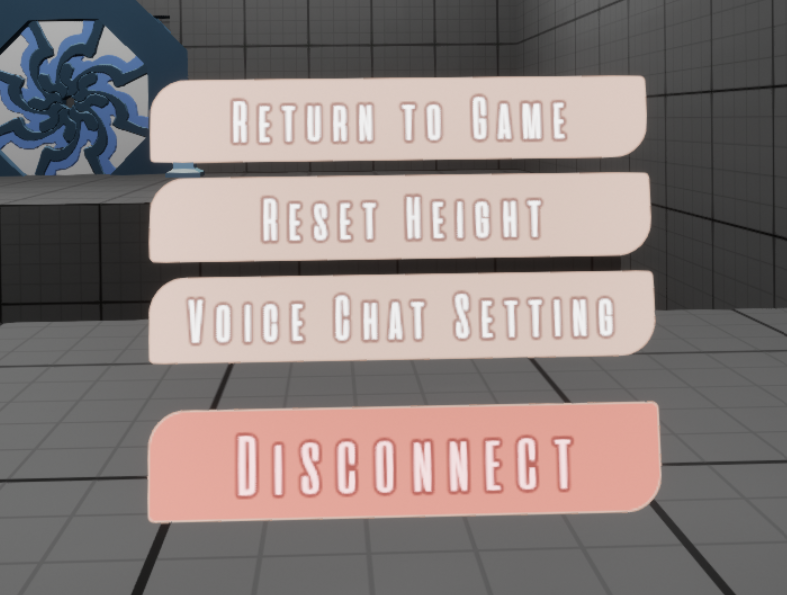
Duolatera has a main menu and an in-game menu. In the main menu, players can start the game/tutorial, calibrate themselves or exit the game. In the in-game menu, players can leave game, calibrate themselves and change voice chat settings.
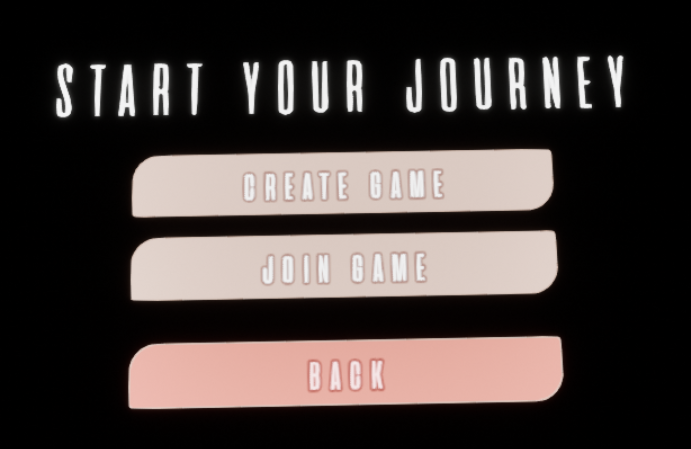
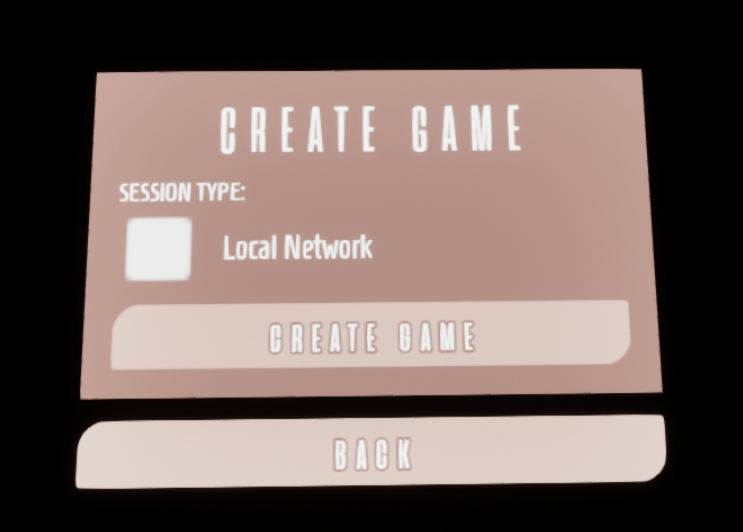
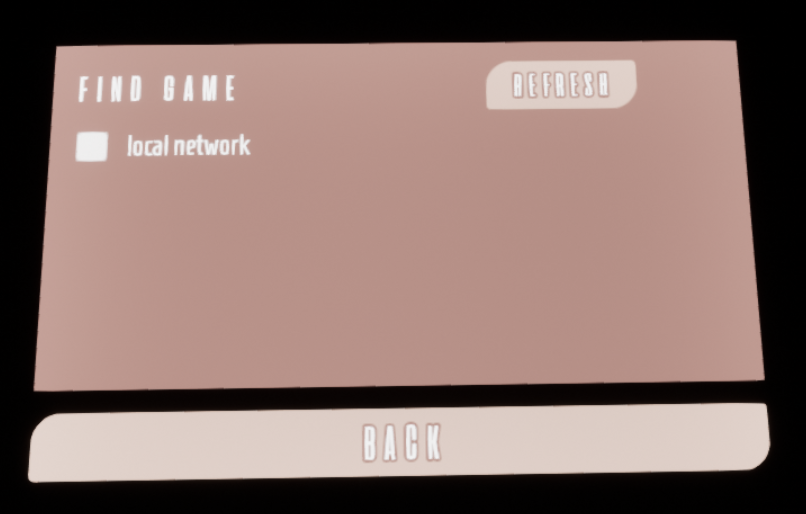
For the main menu, I implemented the UI functionality as well as game pairing functionalities. To start playing, players can either create sessions or join existing sessions.
For the in-game menu, I implemented the UI functionality and voice chat related functionalities. Players can enable, disable voice chat or set it to push to talk.
Dialogue System
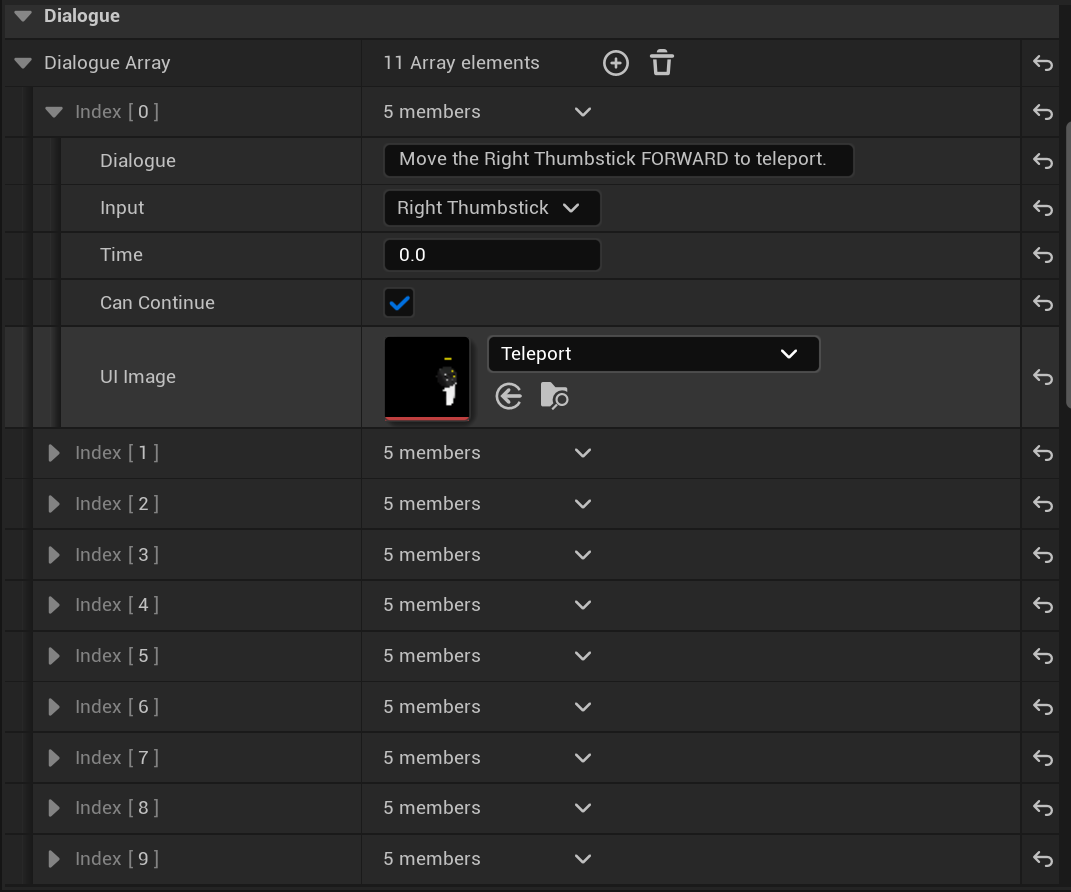
I implemented the dialogue system for the onboarding level. This is intended as a tool for designers to arrange dialogue prompts for onboarding.
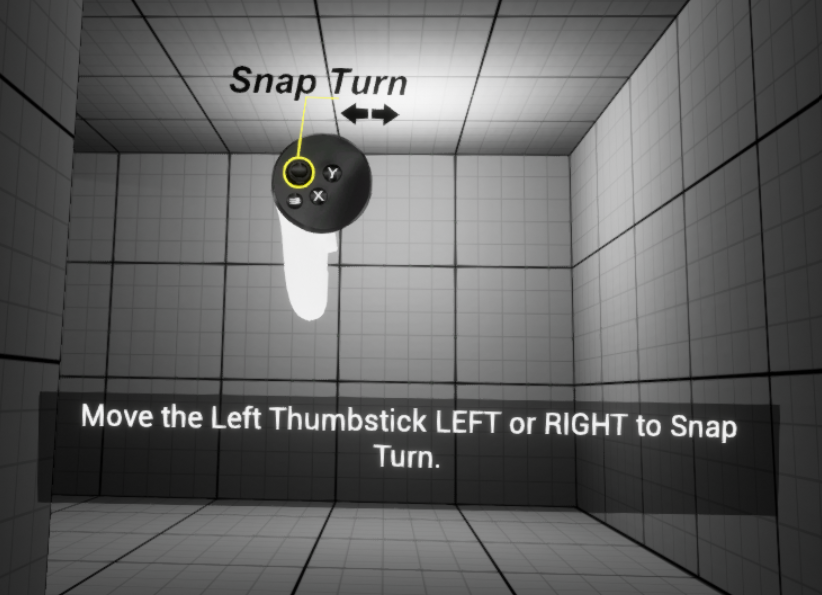
Designers can easily add, delete or move an entry. It is also a handy tool for them to set the desired input or lasting time for players to continue to the next promt. By unchecking the "can continue" box, designers can set custom events to take place before the next dialogue entry.